
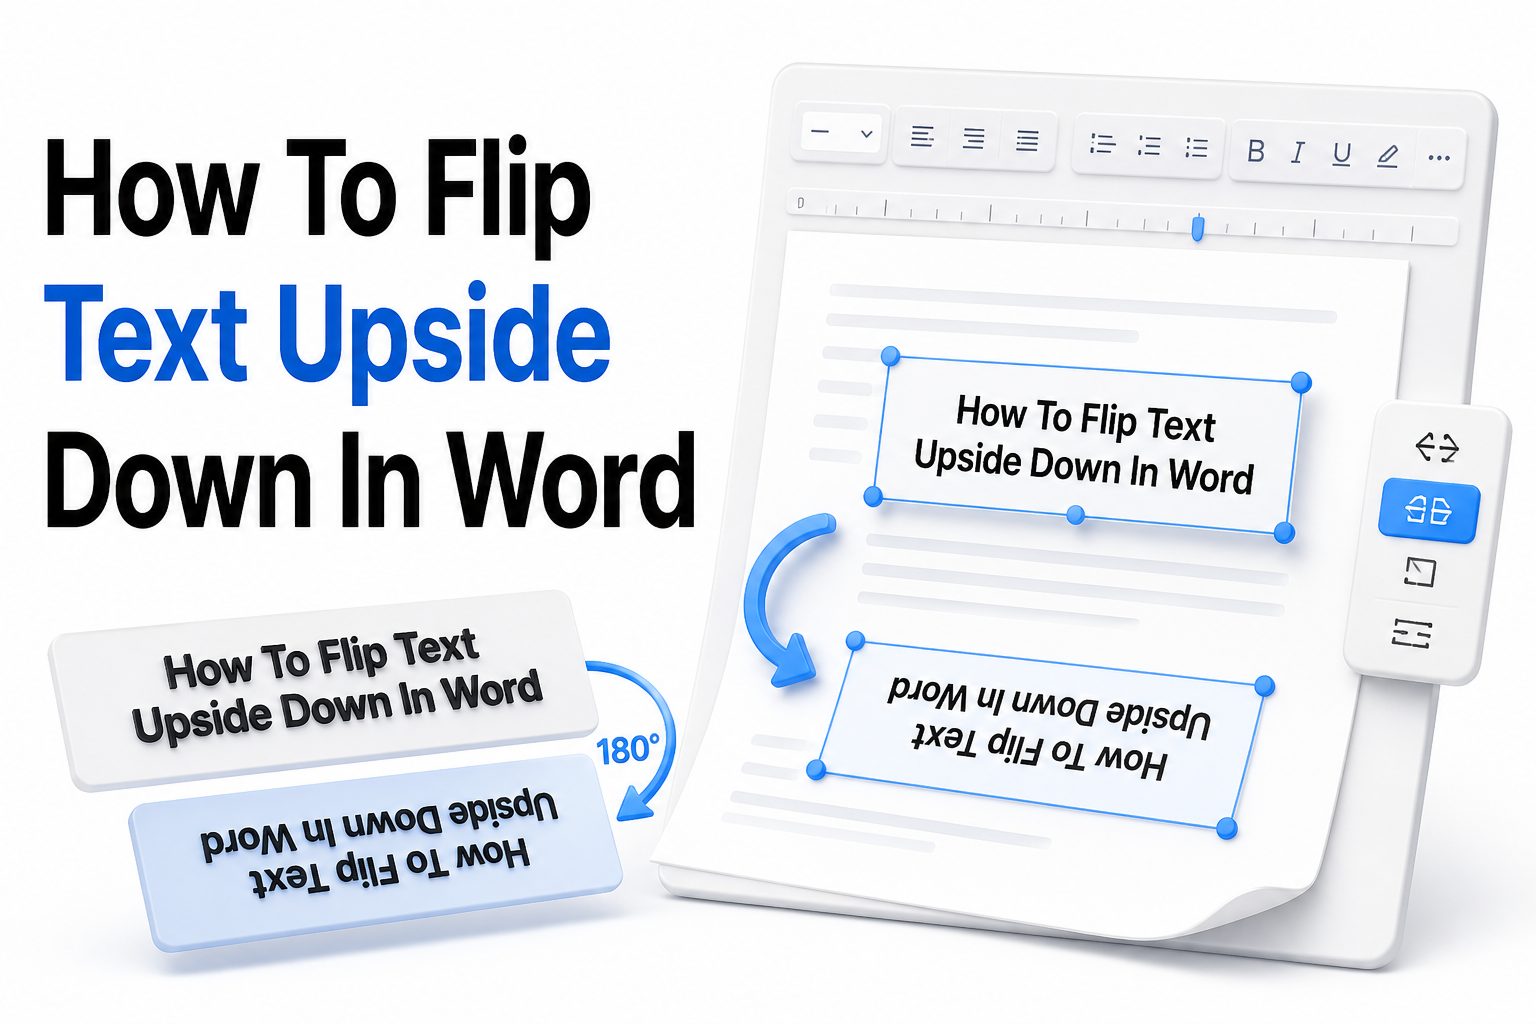
Flipping text in Microsoft Word is useful when you are creating posters, table tents, greeting cards, signs, labels, classroom materials, or creative page layouts. If you have searched for how to flip text upside down in word, the good news is that Word gives you several practical ways to do it without needing design software.
The exact method depends on how your text is placed on the page. Regular body text cannot be turned upside down directly, but text inside a text box, shape, WordArt object, or table can be rotated, flipped, or repositioned. Once you know where the rotation tools are, the process becomes quick and predictable. This guide walks through the easiest options, explains when each one works best, and shares formatting tips that help your upside-down text print and display correctly.
Why Word Does Not Flip Normal Paragraph Text Directly
Microsoft Word treats regular paragraphs as part of the document flow. That means the text moves from left to right and top to bottom according to margins, spacing, columns, and page breaks. Because of this structure, Word does not offer a simple upside-down button for normal typed paragraphs.
To rotate text freely, you need to place it inside an object that Word can manipulate. Text boxes, shapes, and WordArt work well because they float on the page and can be rotated independently. This gives you much better control over placement, angle, size, and print layout.
Best Method for Flipping Text Upside Down in Word
The easiest method is to use a text box. A text box lets you type your words, rotate the box 180 degrees, and position it anywhere on the page. This approach works for most everyday tasks, including labels, signs, invitations, and folded cards.
You can also remove the outline and fill from the text box so it looks like normal text on the page. Once the border is hidden, readers only see the upside-down wording. For most users, this is the cleanest and most reliable way to rotate text in Word.
Quick Checklist Before You Start
- Decide whether the text should be upside down, mirrored, or rotated sideways.
- Use a text box when you need flexible placement.
- Use WordArt when the text is decorative or large.
- Use a table when you are making labels, place cards, or printable layouts.
- Print a test page before using special paper or cardstock.
How to Flip Text Upside Down Using a Text Box
Open your Word document and click where you want the upside-down text to appear. Go to the Insert tab, choose Text Box, and select a simple text box style. Type your text inside the box, then resize it so the words fit comfortably.
Next, click the text box border to select the entire box. Use the circular rotation handle above the box and drag it until the text is upside down. For a precise result, open the Shape Format tab, choose Rotate, and select More Rotation Options.
Rotating the Text Box Exactly 180 Degrees
For perfect upside-down text, set the rotation value to 180 degrees. This avoids small alignment errors that can happen when dragging manually. It is especially useful when designing printed pieces where symmetry and spacing matter.
After rotating, adjust the position of the text box on the page. You can use the arrow keys for small movements. If the box jumps around, change the text wrapping option to In Front of Text or Square, depending on your layout needs.
How to Remove the Text Box Border
Many text boxes show a visible outline by default. To remove it, select the text box, go to Shape Format, choose Shape Outline, and select No Outline. If the box has background color, choose Shape Fill and select No Fill.
This makes the upside-down text blend naturally into the document. You still keep the benefits of the text box, but the page looks cleaner. This is helpful for professional documents, worksheets, event cards, and printable templates.
Text Box Formatting Tips
Setting Best Choice Why It Helps
Rotation 180 degrees Makes text fully upside down
Shape Outline No Outline Hides the text box border
Shape Fill No Fill Keeps the background clean
Text Wrapping In Front of Text Allows easy positioning
Alignment Center Works well for signs and labels
How to Flip Text Upside Down with WordArt
WordArt is another simple option if you want large, decorative, or stylized text. Go to Insert, select WordArt, choose a style, and type your text. WordArt behaves like a movable object, so you can rotate it using the handle above the text.
Once selected, go to Shape Format and use the Rotate menu for exact control. Set the object to 180 degrees if you want it completely upside down. WordArt works especially well for posters, covers, banners, and classroom displays.
When WordArt Is the Better Choice
Choose WordArt when the text is part of the design rather than normal reading content. It gives you access to effects such as shadows, outlines, fills, and curved styling. These features can make upside-down text more visible and visually intentional.
However, WordArt is less suitable for long sentences or paragraphs. It is better for short labels, headings, names, or bold display text. For longer content, a plain text box usually gives better readability and easier formatting control.
How to Rotate Text Inside a Shape
Shapes can also hold text in Word. Insert a rectangle, circle, banner, or other shape, then right-click it and choose Add Text. After typing your text, rotate the entire shape until the wording appears upside down.
This method is useful when the text needs to sit inside a visible design element. For example, you might create a label, badge, sign, diagram part, or callout box. The shape and text rotate together, keeping the design intact.
Practical Uses for Shapes
Shapes work well when you want the upside-down text to have a frame, background, or visual container. A rectangle can become a printable sign, while a rounded banner can support event or classroom material. Keep the shape simple for easier reading.
If the shape looks too decorative, reduce the fill color, remove heavy borders, and use strong contrast between the text and background. Upside-down text already takes more effort to read, so clean formatting makes a noticeable difference.
Useful Ways to Use Upside-Down Text in Word
- Folded tent cards for meetings, weddings, and events.
- Classroom worksheets with answer keys placed upside down.
- Printable games, puzzles, and hidden clues.
- Directional signs that need mirrored page placement.
- Creative invitations, flyers, and scrapbook pages.
- Product tags, table labels, and craft templates.
How to Flip Text Upside Down in a Table
Tables are helpful when you need repeated text blocks, such as name cards, labels, or printable inserts. You can place a text box inside each cell and rotate it upside down. This gives you a structured layout while still allowing text rotation.
Start by inserting a table with the number of rows and columns you need. Then insert a text box inside the relevant cell, type your text, rotate it 180 degrees, and remove the box outline. Repeat or copy the rotated box into other cells.
Making Table Layouts Print Correctly
Before printing, turn on gridlines or table borders while you design. This helps you see where each label or card will fold or cut. When finished, you can remove borders or set them to a light color if you need cutting guides.
Always check margins, cell height, and page orientation before printing. Upside-down text often belongs in folded layouts, so placement matters. Use Print Preview to confirm that each rotated text box sits inside the intended cell and does not shift.
How to Flip Text for Tent Cards
Tent cards often need one side readable from one direction and the opposite side upside down. This is common for name cards placed on tables. Word can handle this layout with text boxes or a table-based template.
Create the card layout first, then add one normal text box and one upside-down text box. Align them on opposite halves of the page or table cell. This makes the card readable from both sides after folding.
Tips for Better Tent Card Alignment
Use Word’s alignment guides to center both text boxes evenly. If the guides do not appear, enable ruler and grid settings. You can also select multiple text boxes and use the Align tools under Shape Format for cleaner positioning.
When creating many tent cards, design one complete card first and duplicate it. This saves time and keeps spacing consistent. You can then edit each name or title without rebuilding the layout from scratch.
Tent Card Setup Checklist
- Choose landscape orientation for wider cards.
- Use a table to divide the page into equal sections.
- Place one text box normally and one rotated 180 degrees.
- Center both text boxes horizontally and vertically.
- Print one test copy and fold it before printing the full batch.
How to Mirror Text Compared with Flipping Text
Flipping text upside down is different from mirroring text. Upside-down text is rotated 180 degrees, so the letters remain readable if you turn the page around. Mirrored text is reversed, often used for transfers, decals, or special printing.
Word’s rotation tools handle upside-down text easily, but true mirrored text may require 3D rotation settings, WordArt effects, or printer options. If you are making iron-on transfers, check your printer settings because many printers offer mirror printing.
When You Need Mirrored Text Instead
Use mirrored text when the printed result will be transferred onto another surface. Examples include T-shirts, window decals, craft vinyl, and some sticker projects. In these cases, the text may look backward on paper but correct after application.
If your goal is simply to make text readable from the opposite side of a folded card, do not mirror it. Rotate it 180 degrees instead. Mixing these two effects is a common reason printed projects come out wrong.
How to Control Text Wrapping and Positioning
After rotating a text box, Word may still treat it as an object that interacts with nearby text. Click the Layout Options icon beside the selected box to control how it sits on the page. In Front of Text gives the most freedom.
Square or Tight wrapping can work when the rotated object belongs near paragraph content. For flyers, labels, and cards, fixed positioning usually works better. You can also open More Layout Options to lock the object’s position on the page.
Using Alignment Tools for Cleaner Results
The Align menu under Shape Format is valuable when working with multiple rotated objects. You can align text boxes to the page, margins, or each other. This prevents slightly uneven placement that is hard to notice until printing.
For precise layouts, combine alignment tools with numeric size settings. Set the same width and height for matching text boxes, then align them horizontally or vertically. This helps when creating labels, cards, worksheets, and repeated printable elements.
Positioning Tips That Prevent Layout Problems
- Use In Front of Text for free placement.
- Use Align Center and Align Middle for balanced layouts.
- Hold Shift while rotating manually to snap to common angles.
- Use 180 degrees in rotation settings for exact upside-down text.
- Avoid placing rotated text too close to page edges.
- Check Print Preview before final printing.
How to Format Upside-Down Text for Readability
Upside-down text is harder to read, so formatting should be simple. Use clear fonts such as Arial, Calibri, Aptos, Verdana, or Times New Roman. Avoid overly decorative fonts unless the text is short and used for a creative design.
Font size also matters. Small upside-down text can become difficult to scan, especially after printing. Increase the size slightly, use enough line spacing, and keep contrast strong. Black text on a white background remains the most reliable option.
Choosing the Right Font and Spacing
For practical documents, use clean typefaces with open letter shapes. Bold can help short labels stand out, but avoid heavy bold for long lines. If the words feel crowded, widen the text box or reduce the number of words.
Keep line spacing consistent and avoid squeezing text into a small object. Upside-down text should still look intentional and polished. If the content is too long, split it into two shorter lines or use a larger area on the page.
Common Problems When Flipping Text in Word
One common issue is accidentally selecting the text inside the box instead of the text box itself. To rotate the object, click the outer border. If you see the cursor blinking inside the text, you are editing text rather than rotating the box.
Another problem is text disappearing or being cut off after rotation. This usually means the text box is too small. Resize the box, check internal margins, or reduce the font size slightly. Word needs enough room to display rotated content properly.
Fixing Text That Moves While Editing
If the text box shifts unexpectedly, adjust its wrapping and position settings. Select the box, open Layout Options, and choose Fix Position on Page if available. This keeps the object from moving when nearby paragraphs change.
For complex documents, anchor placement can also affect movement. Text boxes attach to nearby paragraphs by default. If you delete or move that paragraph, the object may move too. Keeping rotated text in a stable section helps prevent surprises.
Quick Fixes for Rotation Issues
Problem Likely Cause Fast Fix
Text will not rotate Only the text is selected Click the text box border
Text is cut off Box is too small Resize the box
Box border is visible Default outline is active Choose No Outline
Text moves while editing Wrapping is tied to paragraphs Set fixed page position
Print layout looks wrong Margins or page setup changed Check Print Preview
How to Flip Text Upside Down on Word for Mac
Word for Mac also supports upside-down text through text boxes, shapes, and WordArt. Insert a text box, type your text, select the box border, and use the rotation handle to turn it. You can also use formatting panels for more exact control.
The names of menus may vary slightly by Word version, but the core process is the same. Look for Shape Format, Arrange, Rotate, or Size and Position. Setting rotation to 180 degrees gives the most accurate upside-down result.
Mac Layout Tips
If the rotation handle is hard to control, use the Format Pane instead. Select the text box, open Shape Format, and look for size or rotation options. Entering a numeric value is often easier than dragging with a trackpad.
Mac users should also check printing carefully, especially when working with custom paper sizes or labels. Printer drivers can handle margins differently. A test print helps confirm that your rotated text lands exactly where you expect it.
How to Flip Text Upside Down in Word Online
Word for the web includes many basic editing tools, but advanced object formatting can be more limited than the desktop app. You may be able to rotate some objects, but precise text box control can vary depending on your browser and account features.
If you need reliable upside-down text, the desktop version of Word is usually better. You can create the rotated text there, save the file to OneDrive, and continue editing online. For more Microsoft Word formatting help, see [Internal Link: Microsoft Word Formatting Tips].
When Word Online Is Enough
Word Online can work for simple documents where exact print placement is not critical. If you only need a rotated heading or basic visual effect, try inserting a text box and checking the available format options.
For print-ready labels, cards, and classroom materials, use desktop Word whenever possible. It gives better control over page size, object position, rotation values, margins, and printer behavior. That control saves time when accuracy matters.
Desktop Word Compared with Word Online
Feature Desktop Word Word Online
Text box rotation Strong support Limited by version
Precise 180-degree control Available May vary
Print layout control Best choice Basic
WordArt formatting Full tools Limited tools
Best use Print-ready projects Simple edits
Printing and Exporting Upside-Down Text
Before printing, use Print Preview to inspect the entire page. Rotated objects can look correct while editing but shift slightly depending on margins, paper size, or scaling settings. Make sure your printer is set to actual size when precision matters.
If you are sending the file to someone else, export it as a PDF. A PDF helps preserve the position of upside-down text, fonts, and page layout. This is useful for print shops, shared templates, event materials, and professional handouts.
Best PDF Settings for Layout Accuracy
Use Save As or Export, then choose PDF. After exporting, open the PDF and check the page visually before sending or printing. This extra step catches spacing problems before they become expensive or inconvenient.
If your document uses unusual fonts, PDF export is especially helpful. It reduces the chance that another computer will replace your fonts and change the layout. For more page setup help, you can visit [Internal Link: Word Page Layout Guide].
Creative Uses for Upside-Down Text in Word
Upside-down text is not only a formatting trick. It can make printed projects more functional. Teachers use it for answer keys, puzzle hints, and classroom games. Event planners use it for folded cards, table signs, and guest labels.
Businesses can use rotated text for product inserts, packaging drafts, coupons, and promotional handouts. The key is to use the effect with purpose. If upside-down text helps the reader interact with the page, it adds value to the design.
Keeping Designs Professional
Use upside-down text sparingly in formal documents. It works best when it serves a clear layout need. Too much rotated text can make a page feel cluttered and difficult to read, especially in reports or client-facing material.
For polished results, keep plenty of white space around rotated text. Align it carefully with nearby elements and use consistent fonts. A clean layout makes the rotation look intentional instead of accidental.
Smart Uses for Upside-Down Text
- Hidden answers at the bottom of worksheets.
- Folded event name cards.
- Two-sided table signs.
- Puzzle clues and activity sheets.
- Product mockups and packaging drafts.
- Printable craft projects and labels.
Conclusion
Learning how to flip text upside down in word is mostly about choosing the right container for your text. Regular paragraphs are not built for free rotation, but text boxes, shapes, WordArt, and table layouts give you the control you need. For most documents, a text box rotated to 180 degrees is the simplest and most dependable method.
The best results come from careful formatting. Remove unnecessary borders, use clear fonts, check wrapping settings, and preview the page before printing. If you are making tent cards, labels, worksheets, or signs, a quick test print can prevent alignment problems. Word may not be a full design program, but it handles rotated text well once you work with objects instead of standard paragraphs. With a little setup, you can create clean upside-down text for practical, creative, and print-ready projects.
FAQ
Can I flip normal text upside down in Word?
Not directly. Normal paragraph text cannot be freely flipped in Word. Place the text inside a text box, shape, or WordArt object first, then rotate that object 180 degrees to make the text upside down.
Why is my text box border showing after rotation?
Word adds an outline to many text boxes by default. Select the text box, open Shape Format, choose Shape Outline, and select No Outline. You can also choose No Fill if the box has a background color.
Can I make upside-down text for tent cards?
Yes. Use a table or page layout with two text boxes. Keep one text box normal and rotate the other 180 degrees. After printing and folding, the card can be read from both sides.
Is flipping text the same as mirroring text?
No. Flipping text upside down rotates it 180 degrees. Mirroring text reverses it backward, which is often needed for transfers or decals. Use rotation for folded cards and mirror settings for transfer printing.
Does Word Online support upside-down text?
Word Online may support some object rotation, but its tools are more limited than desktop Word. For accurate placement, printing, and formatting, use the desktop version of Microsoft Word whenever possible.
0 Comments